So I know that there are a million and one tutorials on how to make a simple crayon roll but I will show you the way I did it, I hope I make sense :)
Materials Needed:
- 2 (two) 5.5 X 5 inch pieces of your main fabric
- 1 (one) 5.5 X 5 inch piece of a coordinating fabric
- a button or whatever you want to use as a closure
- sewing machine
 |
| first I cut two 5.5 X 5 inch pieces of my main fabric that I wanted to use |
 |
| then I cut a 5.5 X 5 inch piece of coordinating fabric and I ironed them all nice and flat |
 |
| I folded one of my main fabric pieces lengthwise and it ironed flat. Then I left myself a quarter inch seam allowance and then marked in one inch intervals where I wanted my pockets to be |
 |
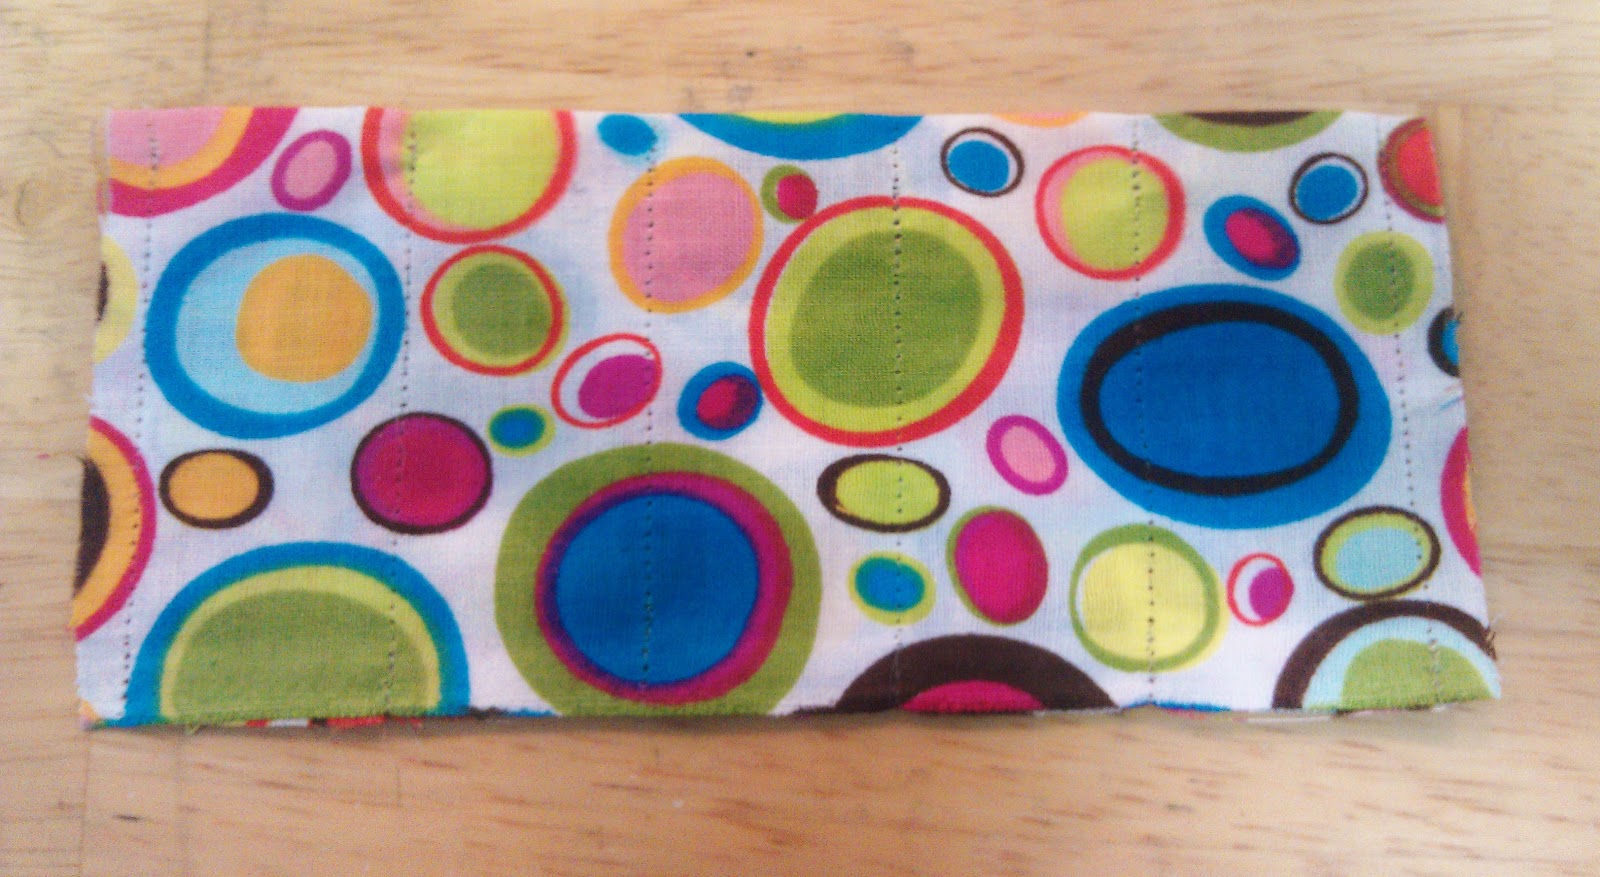
| then sew along your lines |
 |
| now turn your fabrics facing the right way (I forgot this a couple times and had to rip it apart) and sew them together all along where you already sewed |
 |
| if you want to attach a button do it now on your main fabric piece. Then put the two fabrics facing each other and sew along the edges, make sure to leave a good 3 inch opening on one side so you can pull your fabric through the hole |
 |
| after you pull your fabric through attach the rubber band or ribbon or whatever you are using as a closur and sew the hole closed securing the rubber band in. Now iron it all flat and stick some crayons in there and you have yourself a crayon roll! |
 |
| I was on a roll and made a few crayon rolls :) |


No comments:
Post a Comment