Wednesday, May 16, 2012

Wire Wrapped Bangle Tutorial!


I've gotten a couple people asking me "how did you make that?!" so today I wanted to show you and try to explain to you how I do it! so here we go!

Materials:
  1. Hammer (doesn't have to be a pink one)
  2. side cutting pliers
  3. needle nose pliers
  4. anvil (or any hard metal surface)
  5. heavy gauge wire (I just grabbed the heaviest the craft store had, I think it's 16 or 18 gauge not sure)
  6. thin gauge wire (I used 28 gauge wire)
  7. measuring tape
  8. binder clip
  9. glass beads
  10. some more beads!

first measure your wrist

now take that measurement and cut two pieces of the heavy gauge wire 

now bend them into a "U" shape making sure they are both similar in shape

now take the needle nose pliers and curl the ends in to make a loop, do that for both ends on both pieces of wire

now lightly hammer the ends

they are slightly flat, not pancake flat

now put both of the pieces together with the loops facing away from each other

this is where I used the binder clip to hold the two wires together in the position I wanted while I wrapped

now while you have the binder clip giving you a hand, start wrapping the thinner gauge wire on the side that you have the binder clip on. I personally used about 10 inches of the thing wire to wrap the two heavier gauge wires together.

now I lightly hammered the place where I wrapped the wire around just to give it a more flat look and feel. Do this for the other side.

now you can take as long or as short of wire (thin gauge) and string your bead and just start wrapping it onto your bangle form that you have already made

it should look something like this

you can have fun with it and string two beads at once or use different sized beads, just have fun with it!
and you're done! after you put all the bigger beads on there you can decide to "fill in the gaps" with smaller beads or just leave it how it is!


the colors remind me of the sea and the ends how they curl outward remind me of a mermaids tail :)

I hope this was somewhat easy to follow! 

Monday, May 14, 2012

My Weekend in Pictures

This weekend was crazy! Although I think they are going to be for the next several months. But that is a good thing, i'm one of those people that can't stand to sit in one spot for too long. It drives me absolutely NUTS!! I really don't know how people can sit around and do nothing all day (i.e watch TV or play video games 24/7) I literally feel like ripping my hair out if I am sitting down on the couch on the computer or watching TV for too long, I think my max is 3 hours before I have to get up and do something else. It might explain why we don't go out to the movies much. Anyways, I got off topic. Here are a few pictures of what I did this weekend.
Warning: I took a TON of pictures! So prepare yourself!  :)

On Friday the kids had a performance for Honor Senior Day and they danced Los Viejitos

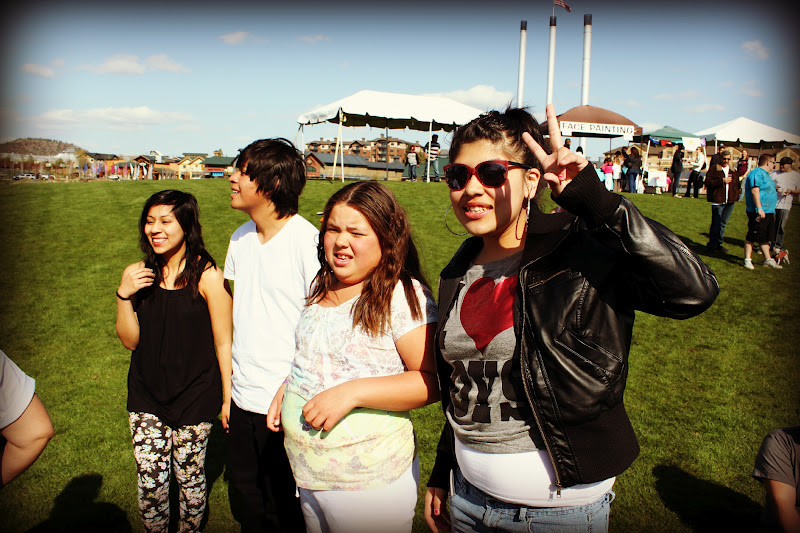
they also had some of  the little kids dressed up in full Native American attire and danced it was so cute!


on Saturday I went hiking with a few friends to Smith Rock and it was amazing! The day couldn't have been more perfect!


after I touched him he ran away...so I took a picture of him before he completely disappeared


On Sunday the kids were asked to dance at the local church to help celebrate mother's day


Sunday, May 13, 2012

Sunday Quotes

HAPPY MOTHER'S DAY!!! I hope all you moms out there have a great mother's day!!!

Thursday, May 10, 2012

Happy Mother's Day!! (Mexico)

Yes, I know mother's day in the U.S. isn't until Sunday but in Mexico (and most of Latin America) they celebrate mother's day on the 10th of May, which works out perfectly for me because my mom and my mother-in-law can have their own mother's days and not have to share! :) So this is what I made my mom for her mother's day. She has been hinting at having me make her a bracelet that had pearl beads on it, ok more like she said "I want you to make me something like this" but anyways here it is! I hope she likes it!


Wednesday, May 9, 2012

DIY Frame Earring Display Holder


One of the last things I had left to make was of course an earring display holder! So I dug out some of my frames that I've been hording and spray painted it white and set off to make myself one!

Materials:
  • tin snips
  • wire
  • picture frame
  • fabric
  • hot glue
  • stand (optional)
grab yourself some wire, I found some wire lying around the property! SCORE!

and grab your frame

and your tin snips (trust me these work wonders, they work about a gazillion times better than wire cutters)

lay your wire over the backside of your frame and using tape or a permanent marker mark out how big you are going to cut

now that you cut out your wire to fit into the frame, put it inside!

now take the backside of the picture frame and cover it in fabric and hot glue the fabric into place

now hot glue it onto the back of the frame

now put it on a stand and you are finished making your very own earring display!

Tuesday, May 8, 2012

Textured Pearl Cluster Wire Wrapped Ring

I've been making a few cluster type rings but using small tiny beads, well I decided it was time to try out the bigger beads!


Monday, May 7, 2012

Another Bead Wire Wrapped Ring...

I made another cluster type ring, I guess I'm on a roll :)


Saturday, May 5, 2012

My Day in Pictures...

Phew! Today has been CRAZY!! Doing hair, Zumba, Folkloric Performance, lunch with 15 teenage girls (1teenage boy), and lastly being apart of a Zumba flashmob! It was such a fun day! But i'm so excited to relax and take a day off tomorrow. I actually woke up today and said to myself, "yes, I got to sleep in! it's 7:00am!" haha I couldn't help but start laughing at myself for that :D